A step-by-step guide to raising butterflies with young children plus FREE PRINTABLE
Raising butterflies with preschoolers either at home or in an early childhood classroom is an exciting and enriching way to introduce the life cycle. Children are naturally curious about these beautiful creatures. Providing young children with the opportunity to discover and observe the butterfly metamorphosis is a truly rewarding science lesson. It is an experience they will take with them as they grow!
Over the years I have repeated this process again and again with the children in my preschool classroom as well as with my own children at home. I have found that the following steps make the process simple and successful!
10 Simple Steps to Successfully Raise Butterflies with Young Children
- Plan this activity for the spring or early summer depending on what part of the United States you live in. The weather must be warm enough for the butterflies to survive when released. Typically, most butterfly species require 50-to-85-degree temperatures to live.
- I have found the absolute easiest and most foolproof way to raise butterflies is to purchase a net habitat and a cup of tiny caterpillars from Insect Lore. This can be purchased from the Insect Lore website or from Amazon. If you are on a budget, I have often found just the butterfly habitat nets at garage sales and thrift stores for only a couple of dollars and then you can purchase the cup of caterpillars and save some money. Once you own your habitat you can use it again year after year. The habitats easily fold down for storage.
3. Once you have ordered your caterpillars and you are waiting for them to arrive in the mail, begin to prepare the children for the process of metamorphosis. Get them excited about the butterflies they will be raising! Begin by learning basic facts about butterflies and reading books about the butterfly life cycle. One of my absolute favorites is of course, The Very Hungry Caterpillar. Even though author Eric Carle used the term “cocoon” which would mean it was the life cycle of a moth- not a butterfly- it is still a beautiful picture book that introduces children to metamorphosis. Another great book is From Caterpillar to Butterfly. This book shows the Painted Lady Butterfly life cycle, so it fits perfectly with the Insect Lore Painted Lady Caterpillars that will be arriving. Explore my World, Butterflies, is an excellent book to generally introduce the children to butterflies.
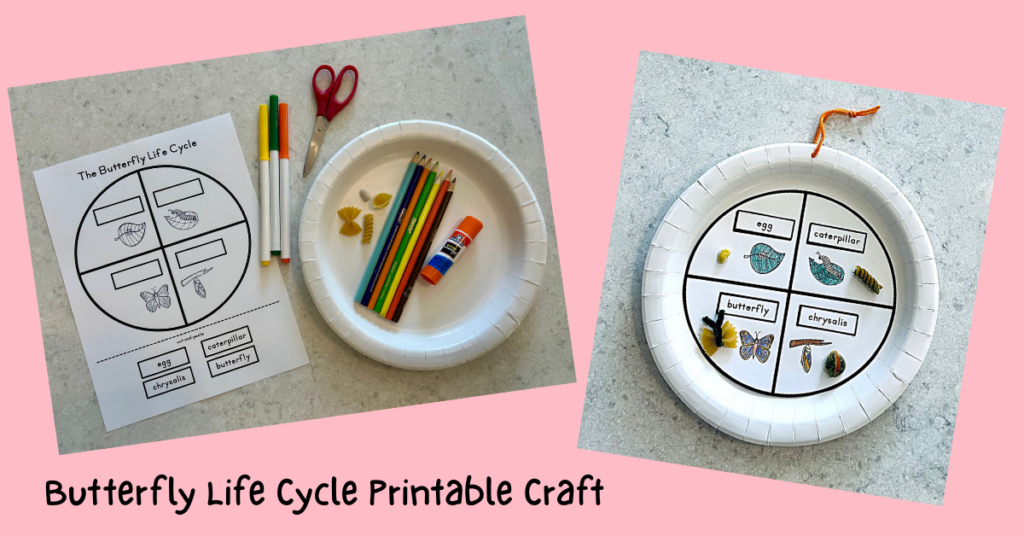
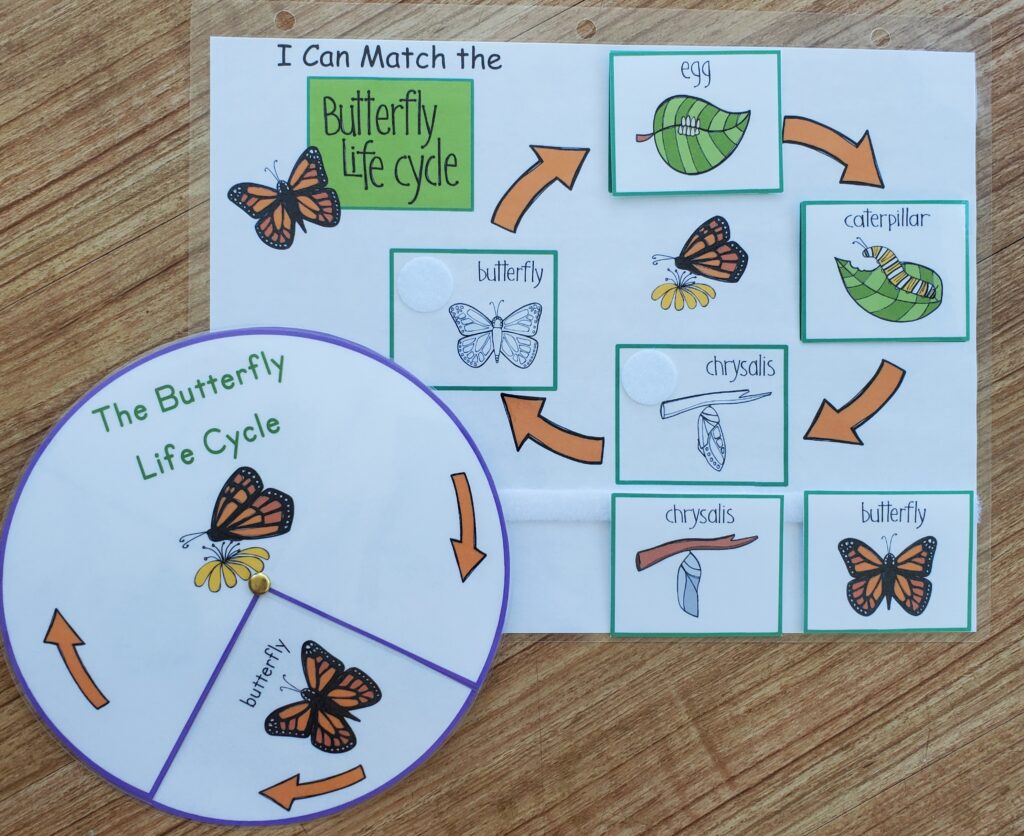
4. Begin introducing the children to the butterfly life cycle through simple hands-on projects. Here is a project that I have created and used with my preschoolers. You can use it simply as a color, cut and glue worksheet, or you can turn it into a craft project by coloring, cutting, and gluing it onto a paper plate, then glueing on pasta to illustrate the life cycle. Punch a hole in the top, string it on a ribbon and hang up in your home or classroom. Click below for this FREE DOWNLOADABLE PRINTABLE so that you may use it with your child!
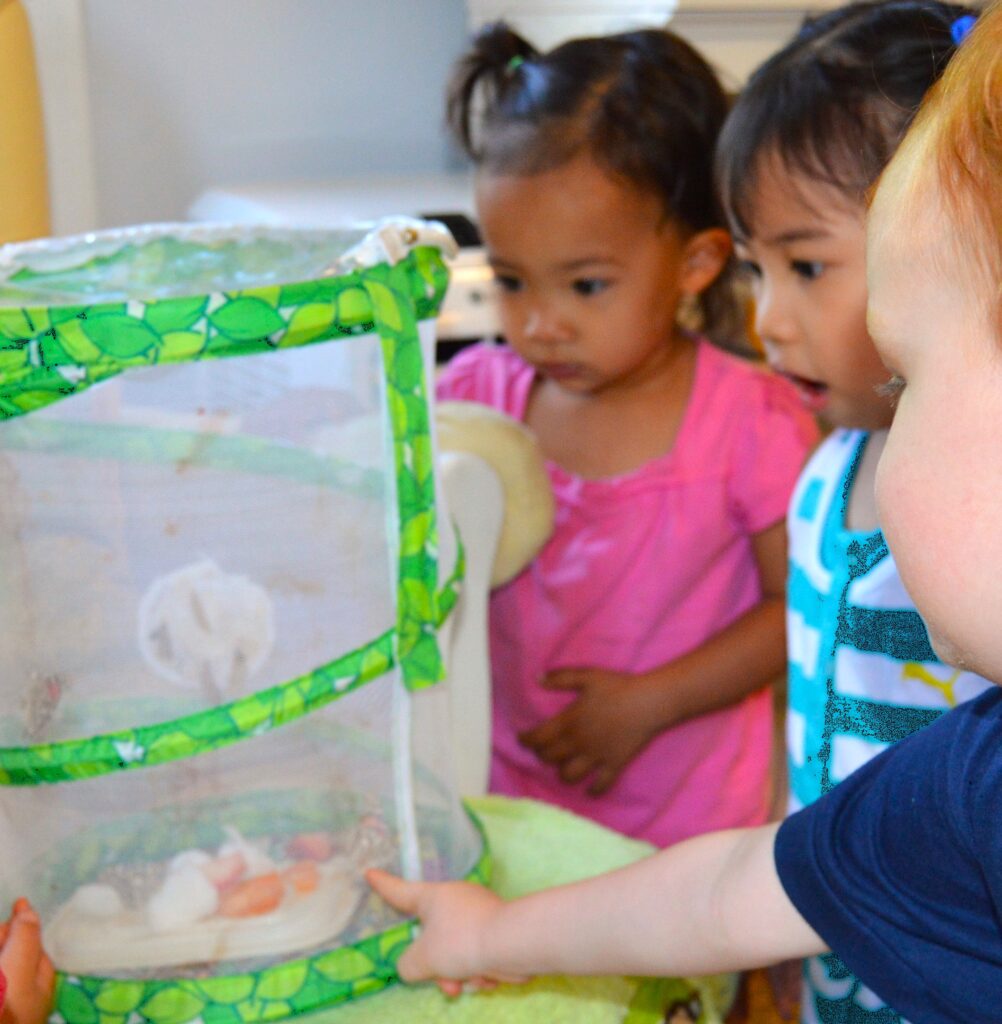
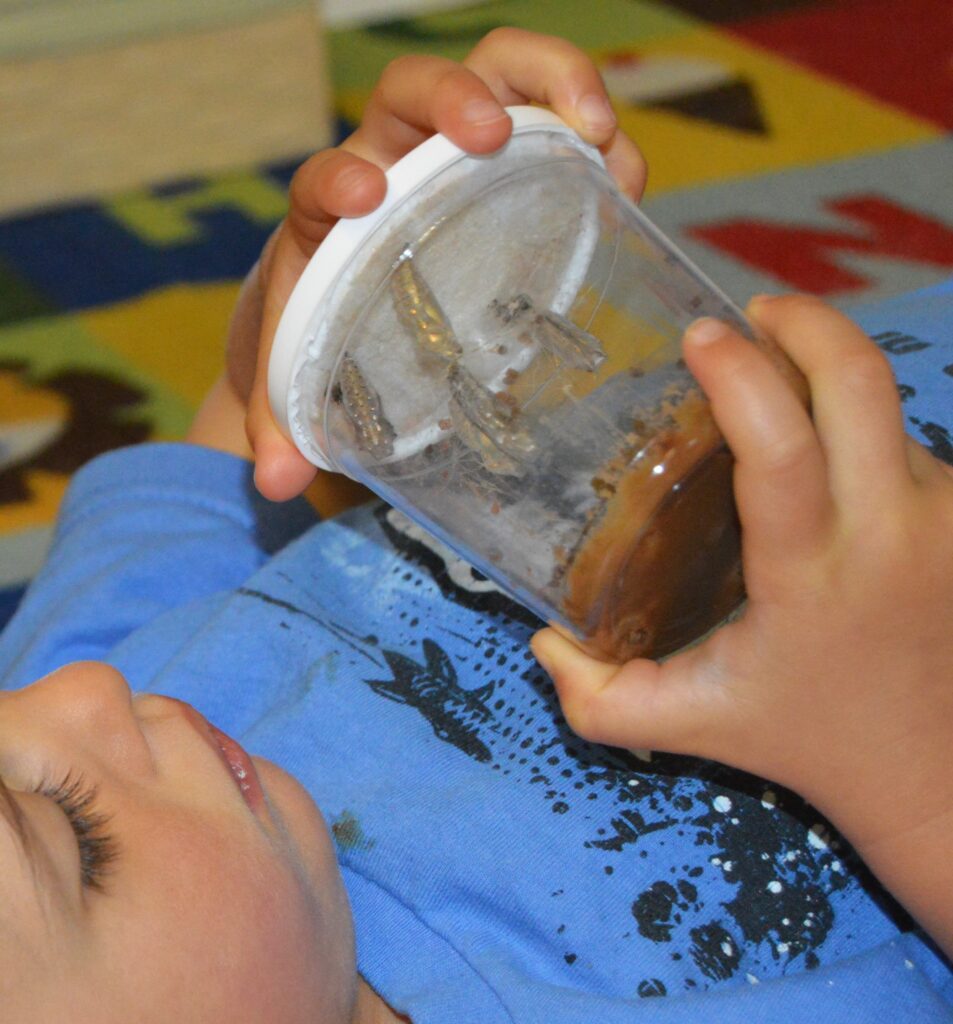
5. Your caterpillars will arrive alive in the mail. If possible, keep a close eye on the mailbox on the day they should arrive so that the caterpillars don’t sit out in the hot sun for too long. They will come in a small cup with some brown “goo” at the bottom which is actually the food that they will feed on for the 7-10 days as they grow inside the cup. Have the children watch and observe during this time as the caterpillars eat and quickly grow in size!
6. At the end of the 7-10 days, the caterpillars will begin to climb to the top of the cup and hang in a letter J shape. This is when they will form their chrysalis! Over the next three days you will see the chrysalis gradually begin to harden as it hangs from the top of the cup.
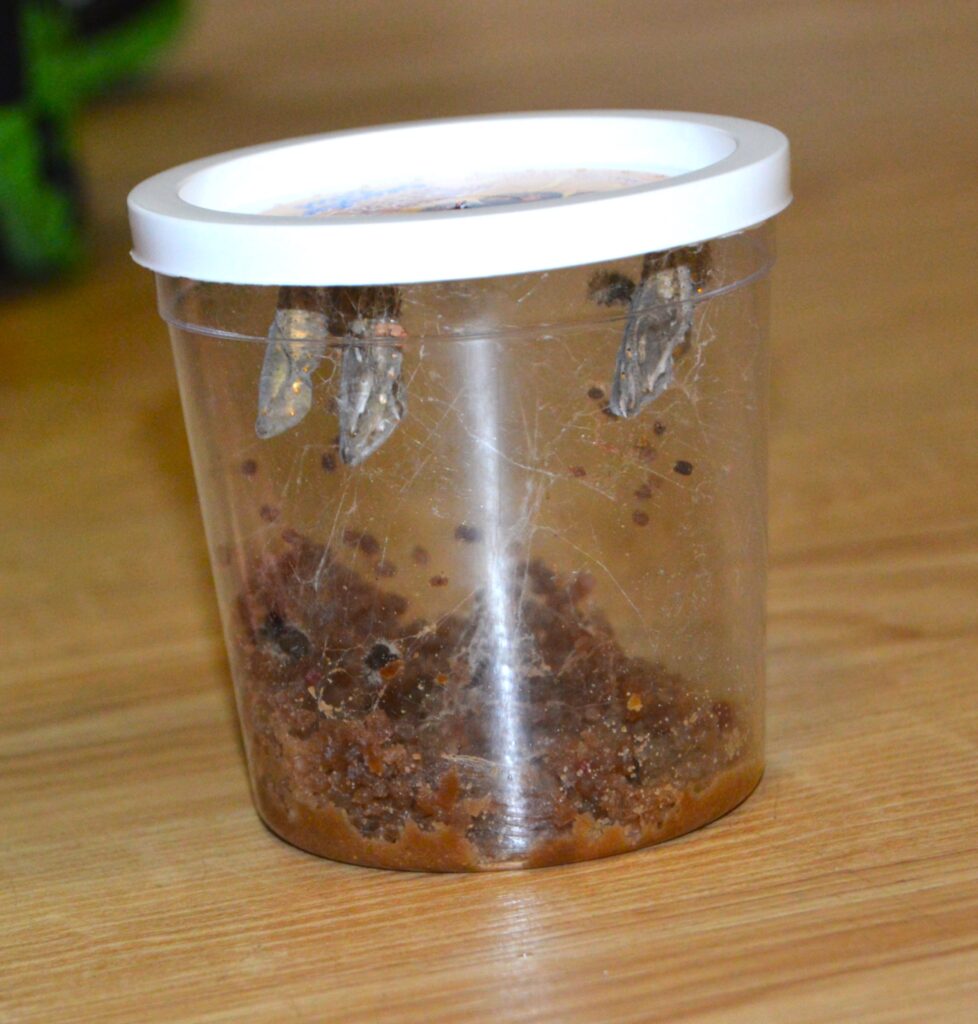
Again, provide lots of time for observation. Perhaps have the children keep track of the changes by drawing them each day in a simple journal.
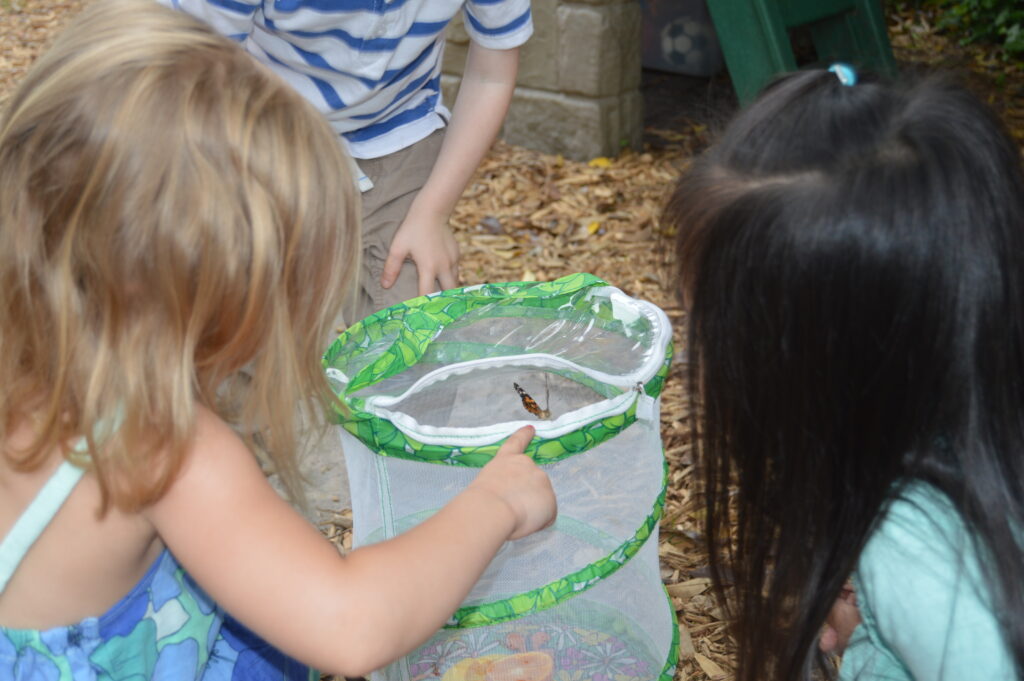
7. After around another 7 days, you will go ahead and transfer the chrysalises to the habitat net. You will do this by carefully opening the cup. Remove the paper the chrysalises are hanging from at the top of the cup. Carefully pin the paper to the inside of the net, a couple of inches from the bottom.
Now it is time to watch for signs that the butterflies are getting ready to make their appearance. You may begin to observe the chrysalis shaking or twitching slightly as they hang. You may see that the color of the chrysalis changes- often getting lighter or more transparent. These are signs that the butterflies are getting closer to emerging!
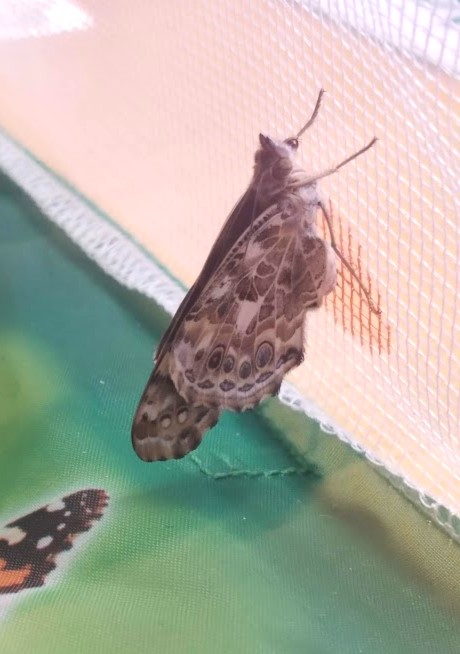
8. Finally, the moment everyone has been patiently waiting for- the butterflies emerge!! In my experience, they typically emerge at various times throughout that same day. Occasionally, one will be a little slower and might emerge that night or the next day. After emerging you will see the butterflies cling to the side of the net. They will slowly pump their wings to uncurl them and dry them out. You may see a red substance dripping off the butterflies as they do this. This is not blood as one may think it is. It is meconium. This is the leftover material from the caterpillar that was not needed to form the butterfly. The butterfly expels it from its intestines. It is very important not to touch your butterflies as they stretch and dry their wings because you could damage their fragile wing structure.
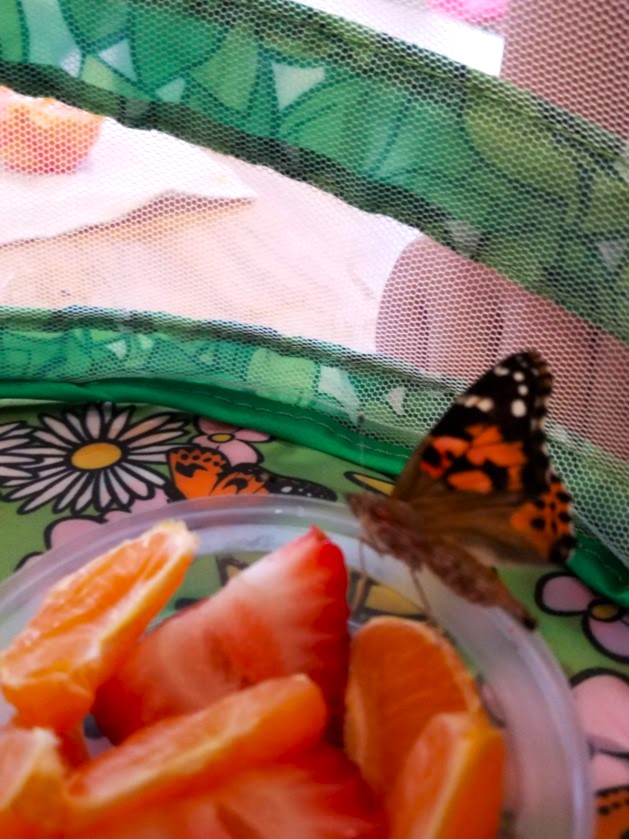
9. Now you have just under 1 week to observe the beautiful butterflies that have emerged before you must release them into nature. During this time, they will need to eat. You can feed them fresh fruit, like orange slices or strawberries, or you can create a sugar water substance to feed them. If you choose to make the later, be sure and soak a cotton ball with the solution and put it in the habitat rather than just a dish of the liquid. This will ensure the butterfly hatchlings don’t drown. Here is a simple recipe for the butterfly sugar water:
Butterfly Food Sugar Water Recipe:
-1 tablespoons cane sugar
-4 tablespoons warm water
-Mix thoroughly. Saturate cotton ball in liquid and place in habitat.
-Excess may be stored in the refrigerator for future use.
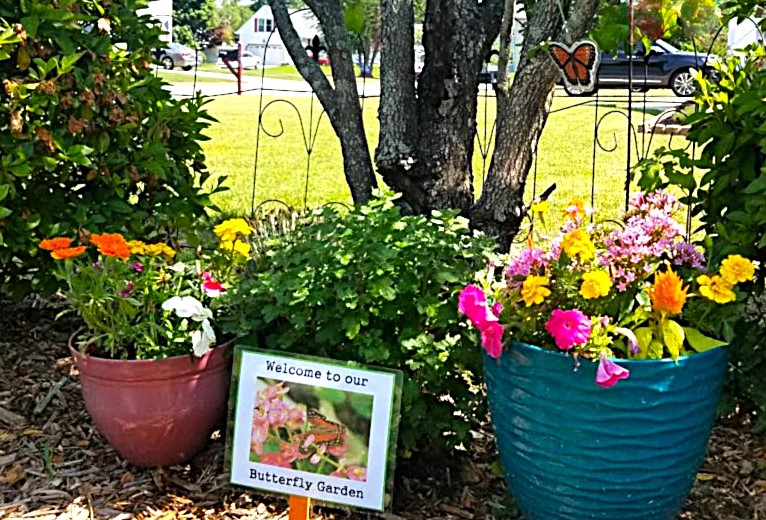
While you continue to observe your butterflies in their habitat for the week, begin talking about what the butterflies will do once they are released. Perhaps you could plant a simple butterfly garden that may encourage them to stay around your yard for a bit longer.
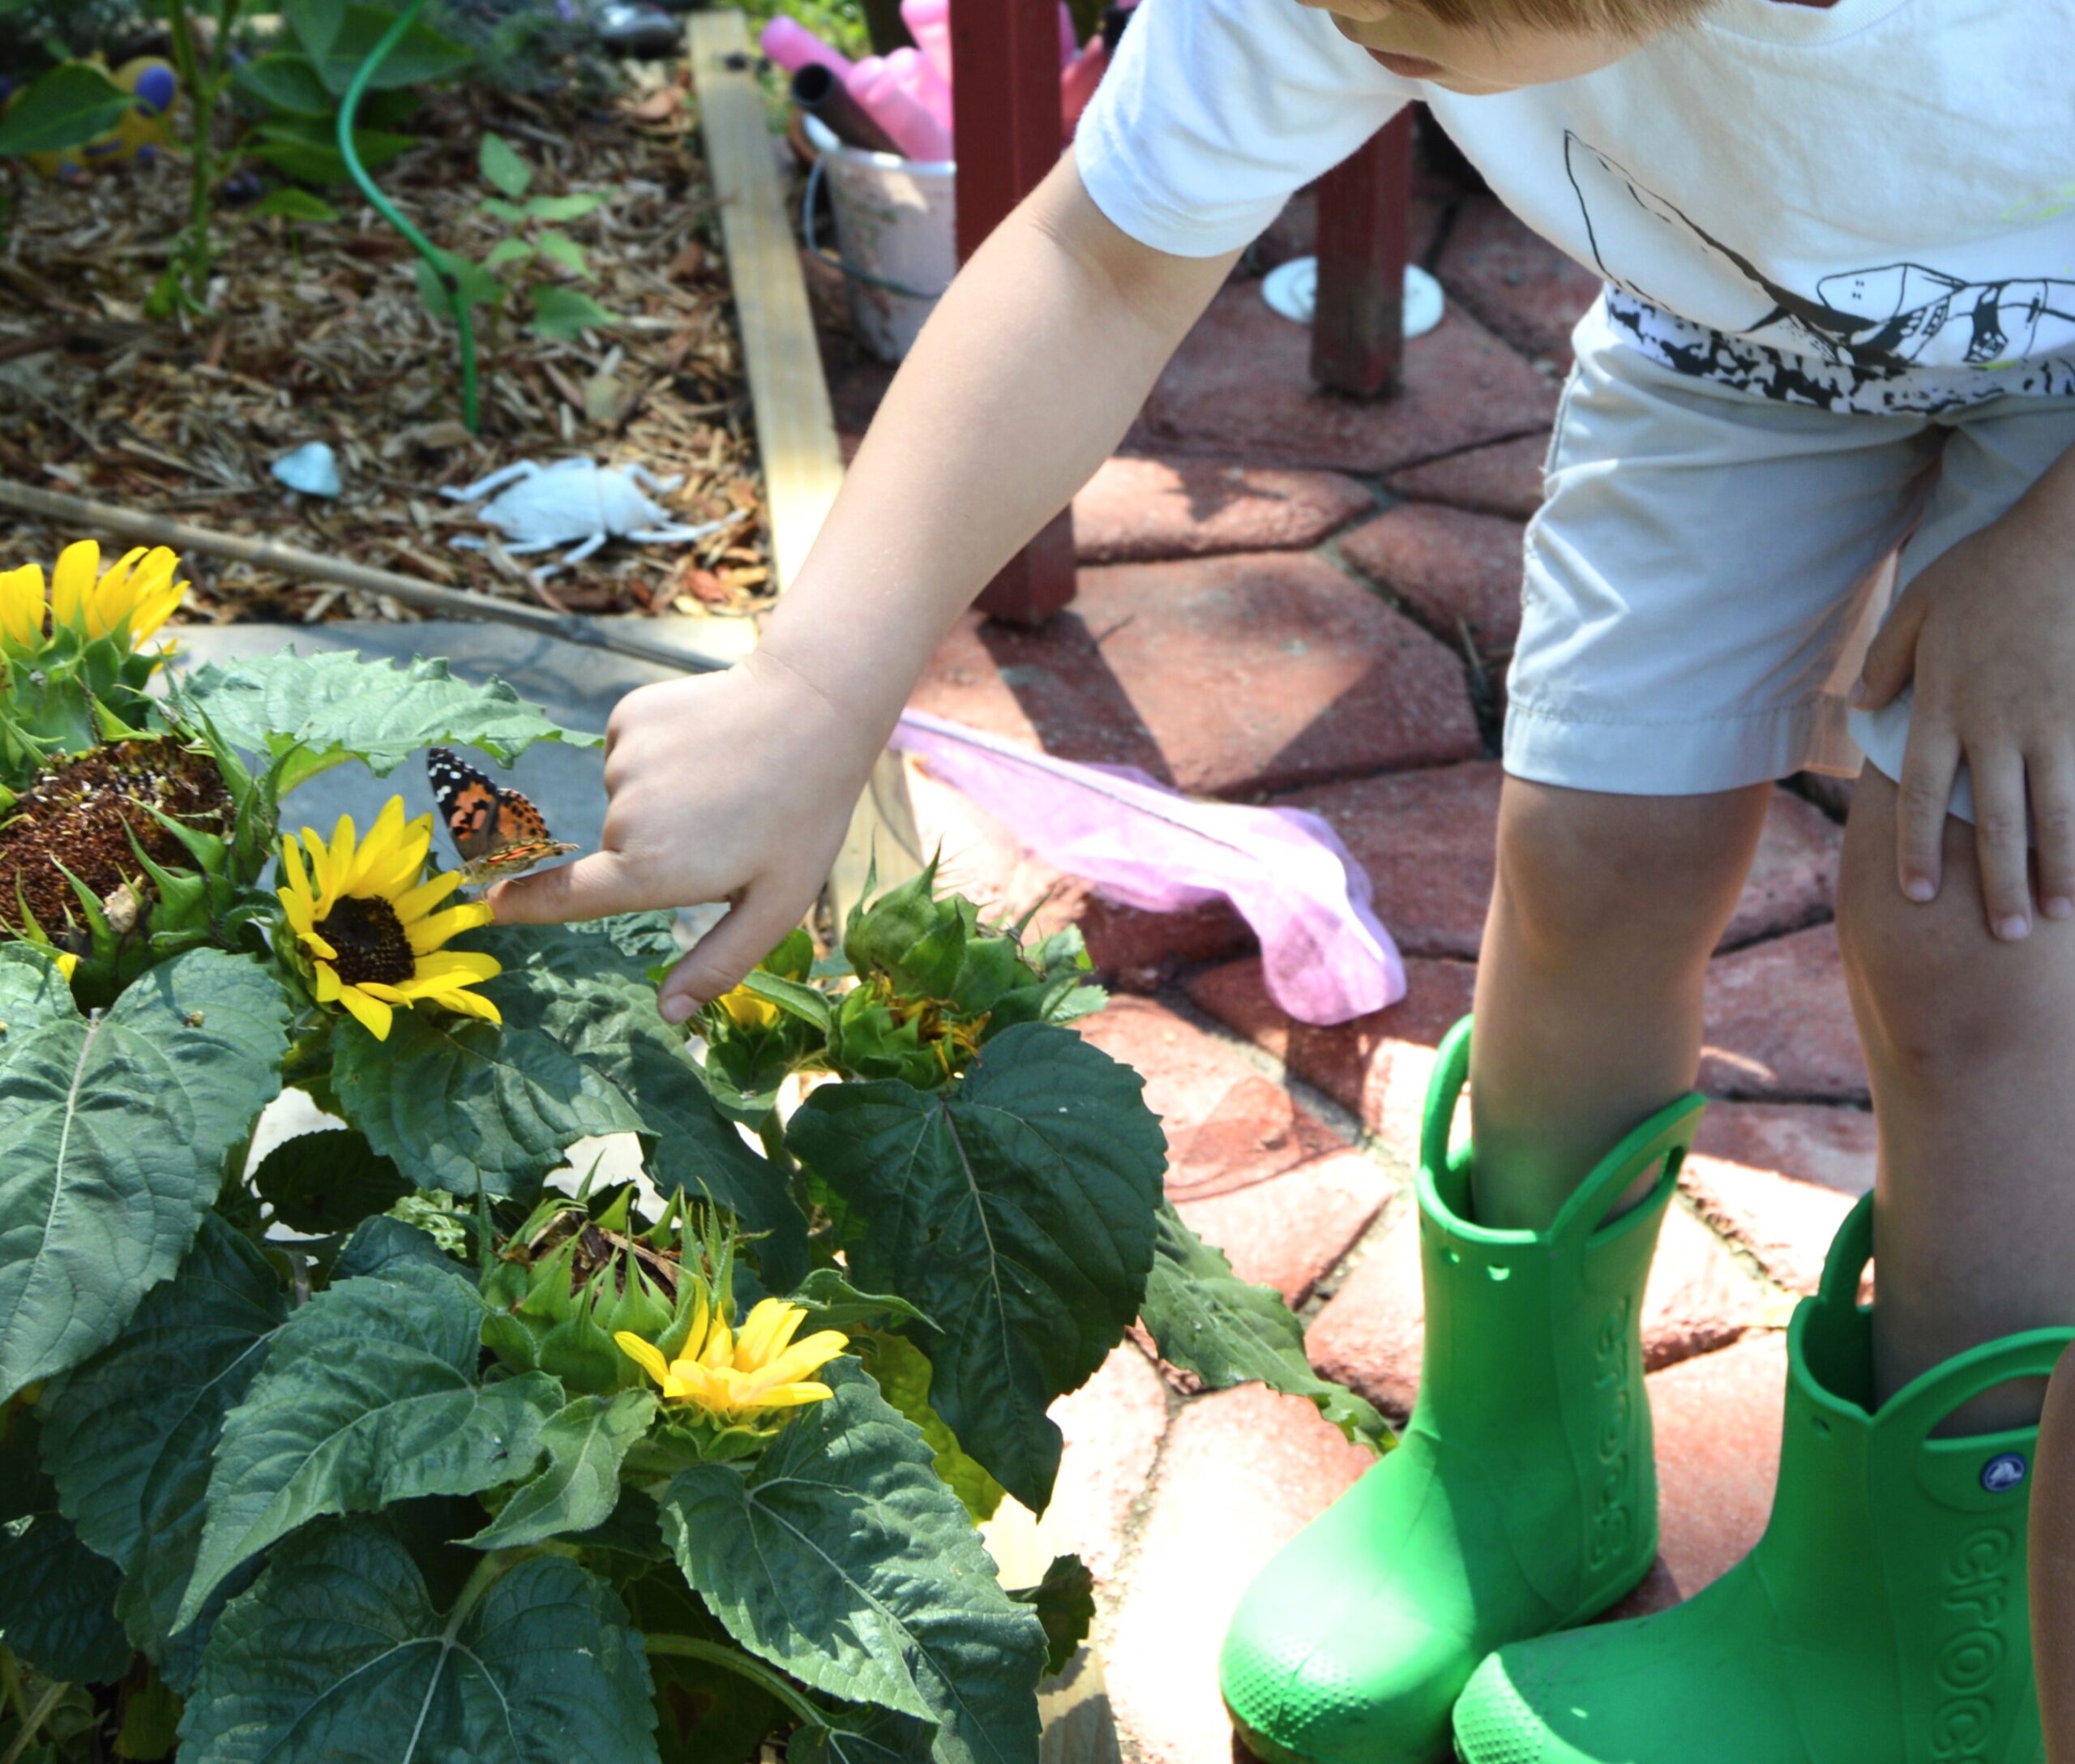
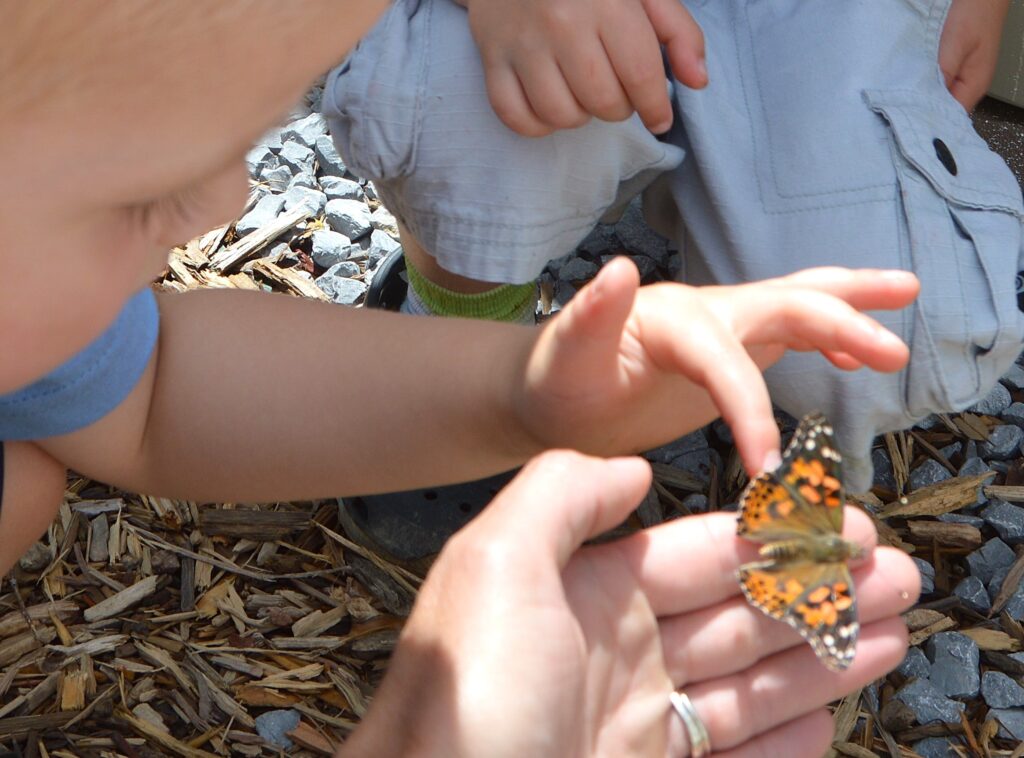
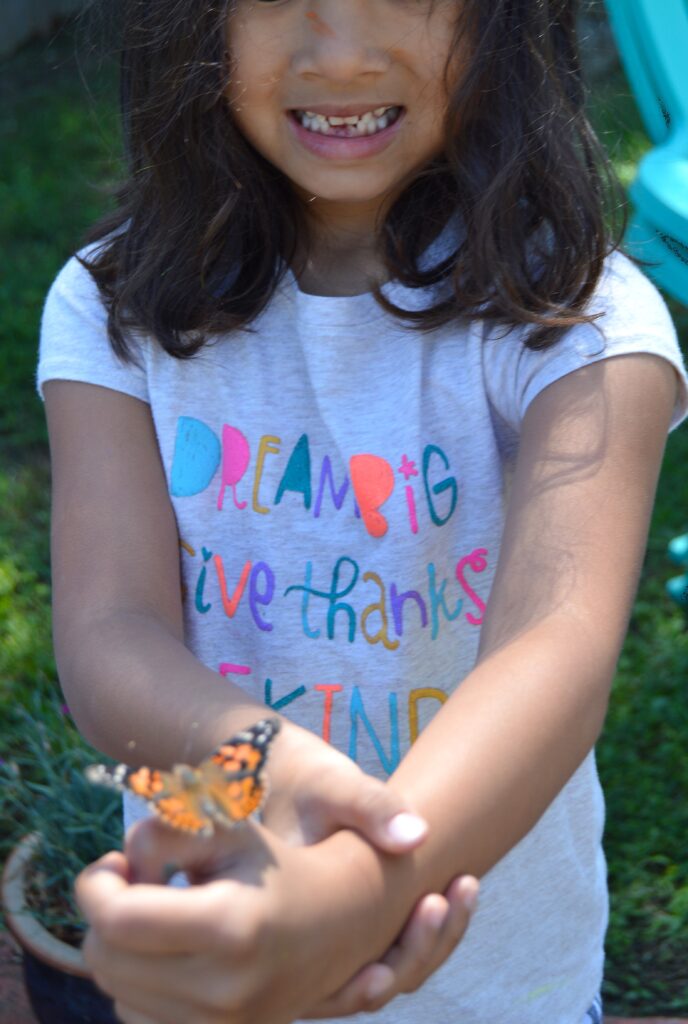
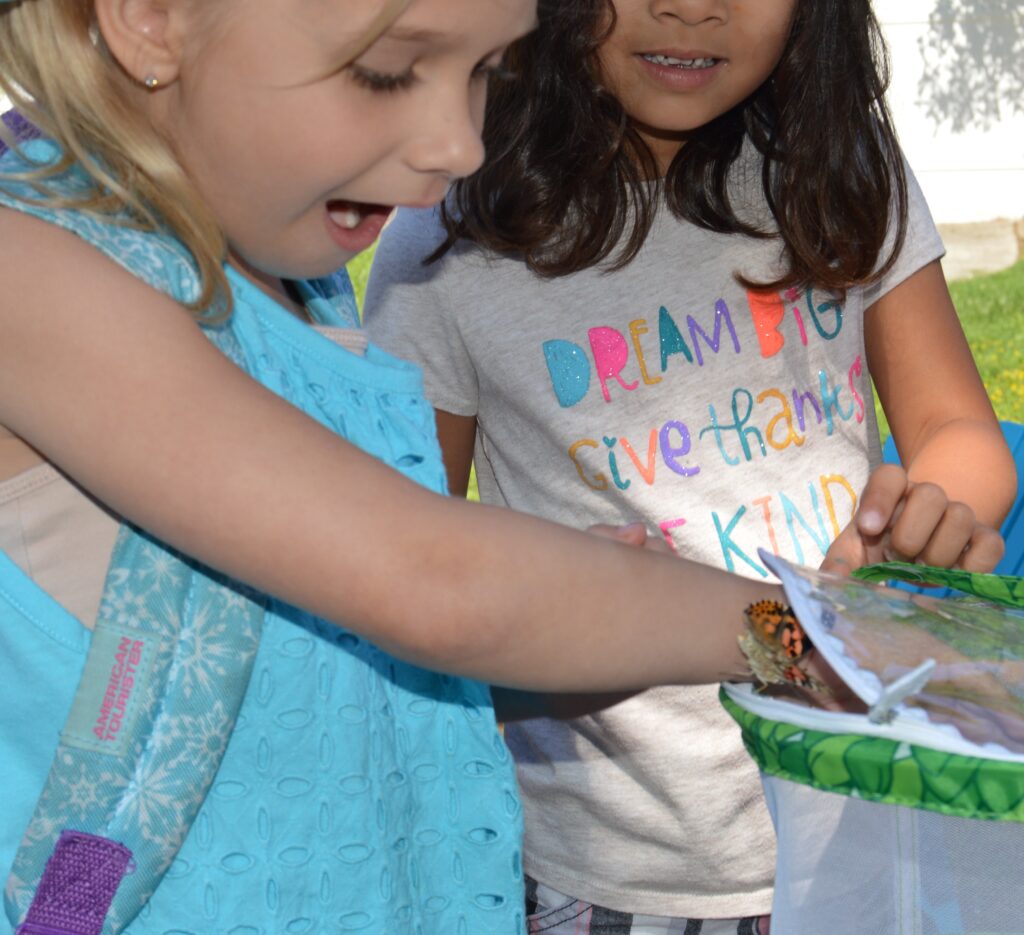
10. Finally, it is Butterfly Release Day!! This is always a truly magical day. You will find that the butterflies you have raised will sit happily on your fingers or land on your head during the release. This is such an exciting experience for children!
As you can see, raising butterflies is not only educational and engaging, it’s also a truly memorable experience. It not only teaches children a valuable science lesson, the process of raising butterflies also teaches them to be patient, to be gentle, and to be good stewards of the environment around them so that all creatures great and small can thrive and flourish.
I hope this encourages you to raise butterflies with your little ones and as always, happy learning! 🙂
Should you be interested in purchasing learning materials about life cycles, or perhaps some butterfly or caterpillar themed learning materials be sure and visit my Etsy Shop for reusable, hands-on learning materials that are shipped to your house and arrive ready for your child to use!
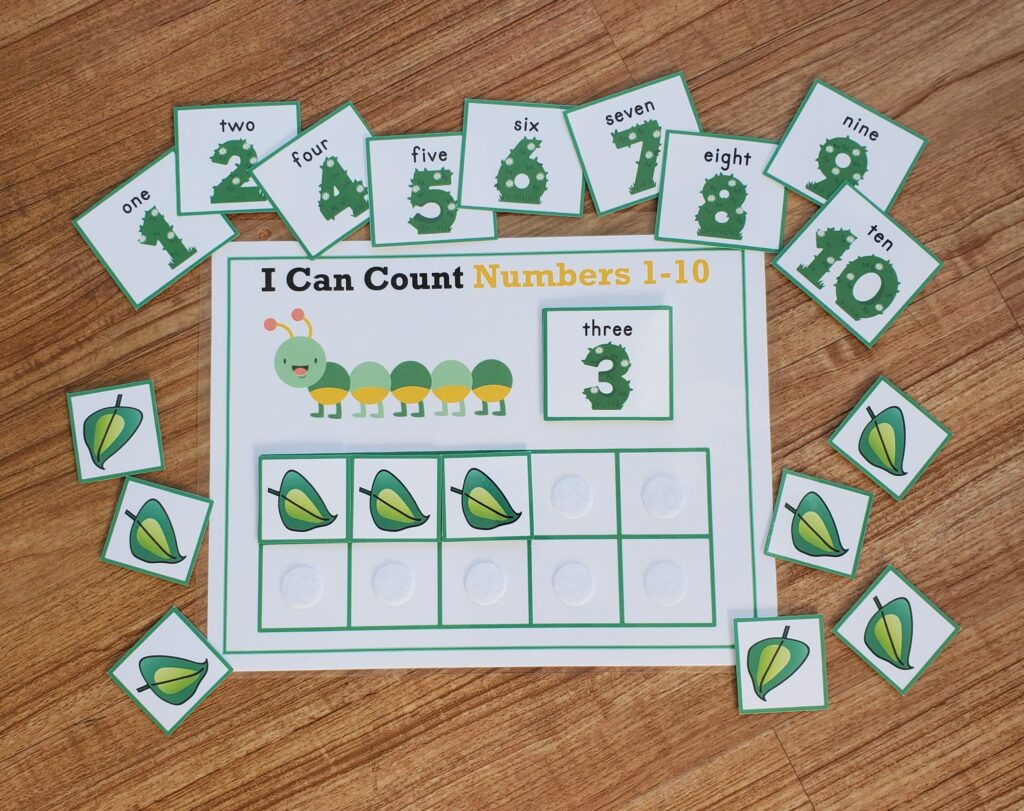
Caterpillar Ten Frame Counting Game
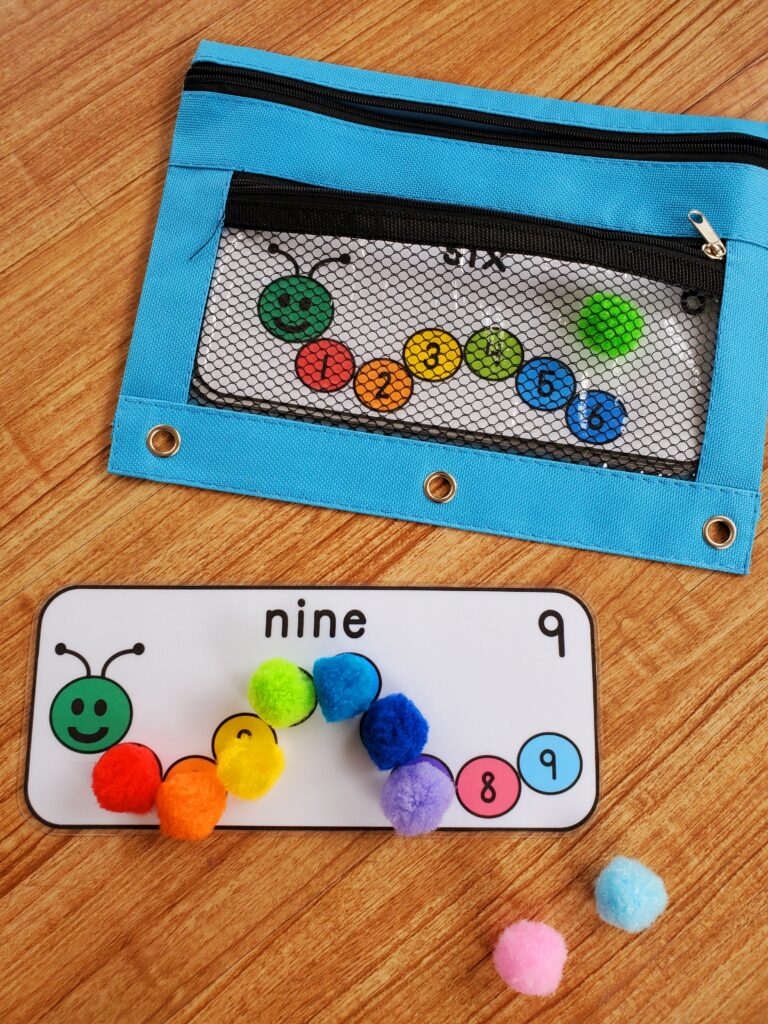
Caterpillar Counting Activity for Preschool
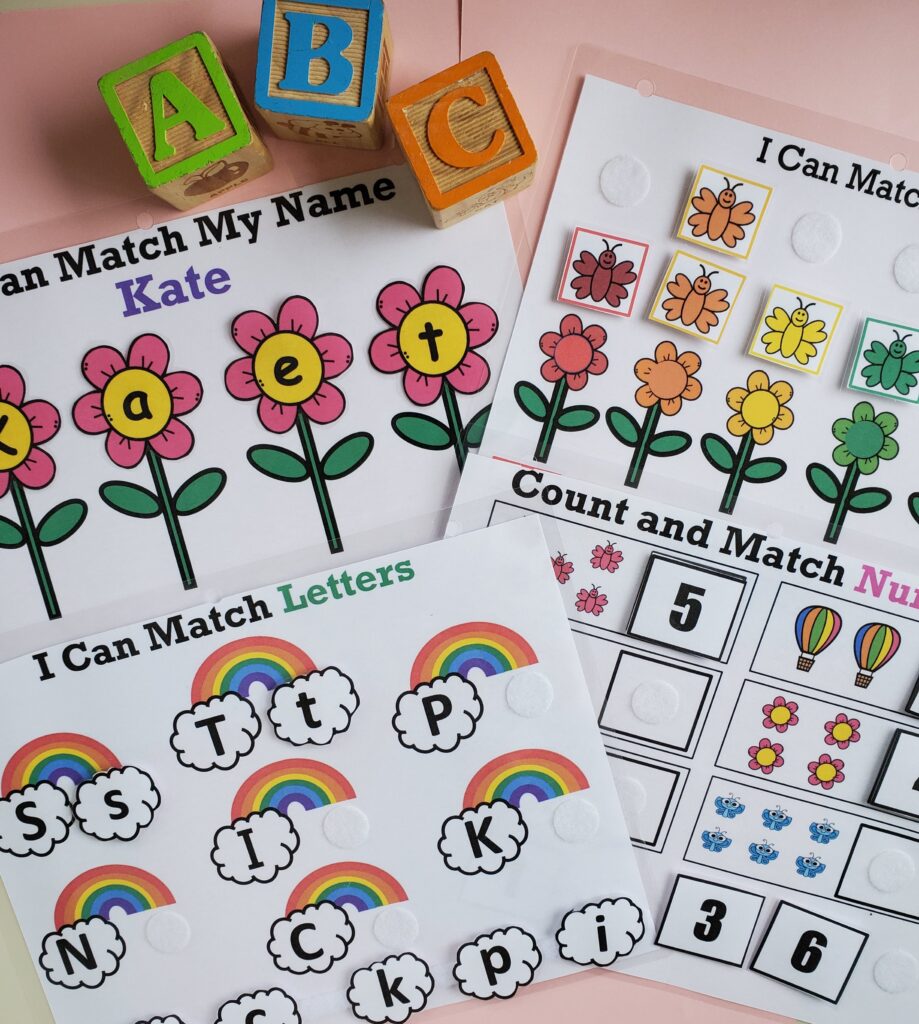
Preschool Learning Binder Rainbows and Butterflies